User Guide
Developers
Views, Sort and Filter

Find out how to create, manage and delete Object Views.
About Views
You can see your records in different ways by creating views. In a view, you can apply filters and sorts to organize your content efficiently. For instance, on the People object, you can create a view to isolate US contacts by filtering those with a US phone number.
Default View
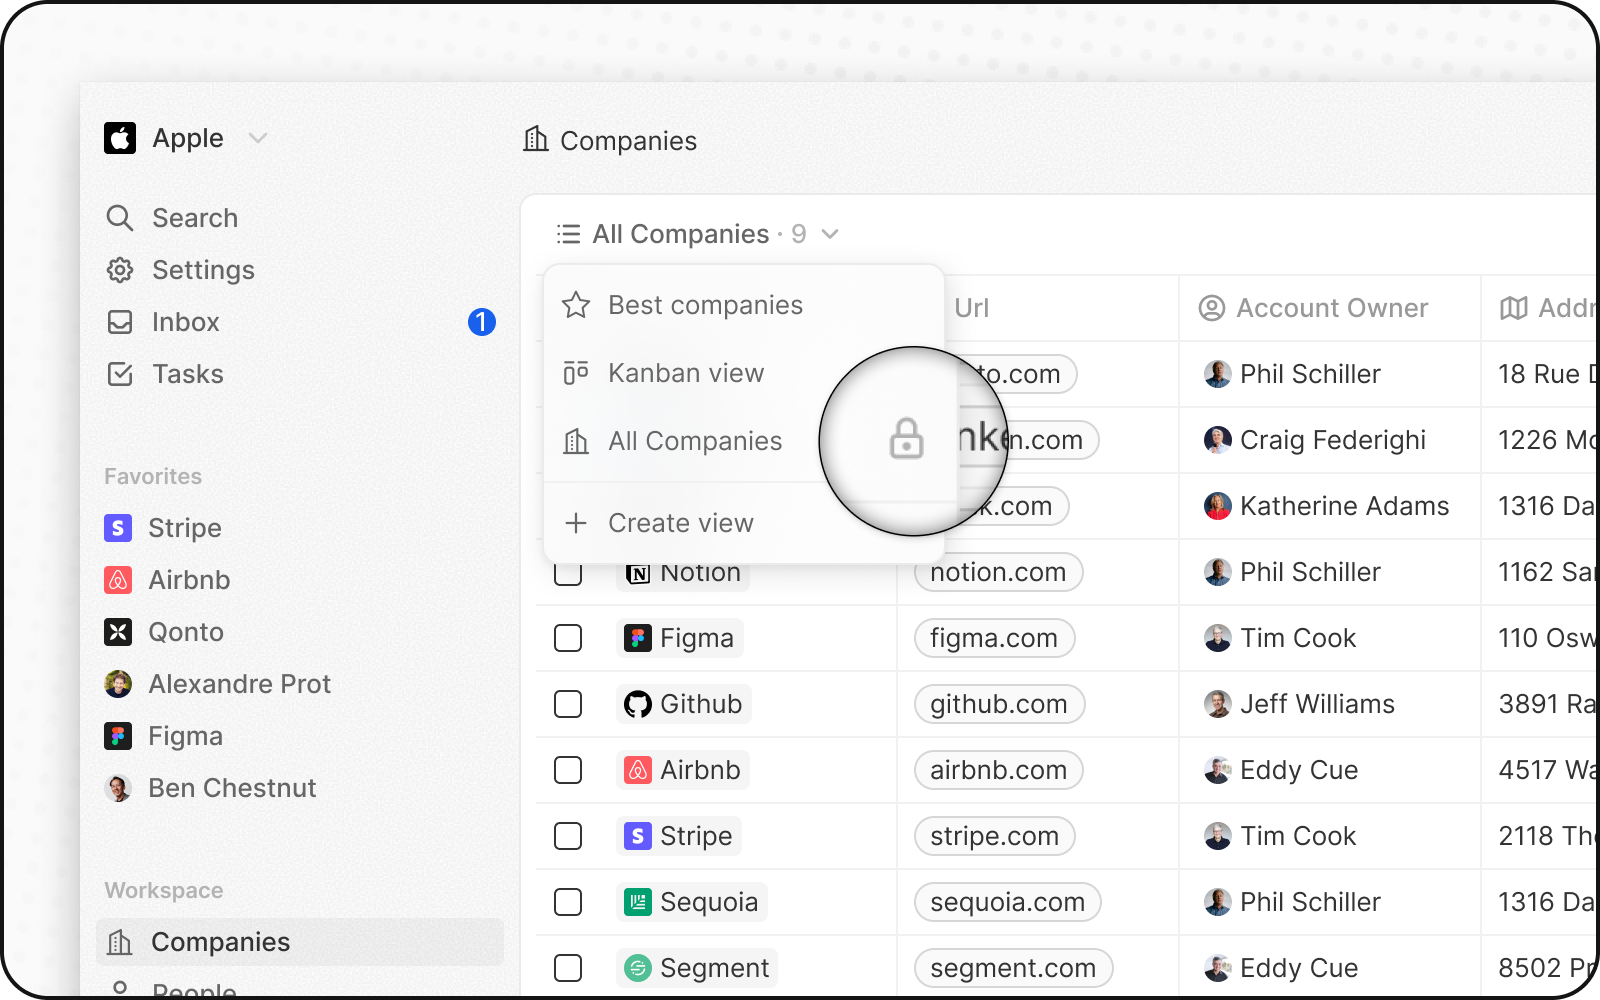
Each object comes with an unfiltered, unsorted, and undeletable view known as the Default view. It's named after the object's plural name, such as "All Companies," "All People," "All Opportunities".
Creating, Editing and Deleting Views
You can create several custom views and share them with your team.
Creating a View
There are two ways to create a new view. Either directly from the View Switcher, or by filtering and sorting an existing view.
From View Switcher
- Open the View Switcher
- Click the
Add Viewbutton at the bottom of the view switcher menu. - Choose an Icon and name for your View.
- Choose a "View type" between Table and Kanban.
- (Kanban Views only) For your Kanban view, select the Select field you wish to use as the column header. The system prompts you to create one from the Settings before enabling Kanban view creation, if your object lacks a
Select field. - Click "Create" to generate your new view.
The newly created view opens automatically.
From Sorting and Filtering
When you change the Sorting and Filtering of an existing view, a Save as new view button will appear at the right edge of the View Bar. This will open the New View menu mentioned above, allowing you to create a new view out of an existing one.
Editing and Deleting a View
To Edit or Delete a view:
- Open the View Switcher
- Hover the View you wish to edit
- Click on the three dots that appear upon hover to edit and delete views
Upon clicking on edit, you can change the icon and the name of the view or delete the view completely
Navigating Between Views
To switch between views, simply open the view switcher and click the view you wish to open.
Customizing Views
Each view can be customized to streamline your business processes. Views help segment your data. You can customize views using filters, sorts, and field display.
Filtering a View
To filter a view:
- Click Filter > select a field (for example: Name, Company in the People Object).
- Choose a condition, select a value, and apply the filter.
- Add more filters with
+ Add filteror remove them with X.
Sorting a View
Order your fields data in ascending or descending order:
- Select Sort, choose a field, and define the sort order you desire.
- You can apply and arrange several sorts as needed.
Field display
You can customize which fields to display within a view. To hide a field, click Options > Fields and select the hide icon upon hover or click on the field column header and select hide.
You can rearrange fields by clicking their field column header and then press Move Right or Move Left.
Opening Record
To open a record, click on the name in the first column. This action will open the corresponding Record page as a side panel.
Noticed something to change?
As an open-source company, we welcome contributions through Github. Help us keep it up-to-date, accurate, and easy to understand by getting involved and sharing your ideas!