User Guide
Developers
Fields

Understand the role of fields and how to handle them.
About Fields
Fields in an object are akin to the column names in an Excel spreadsheet, indicating the type of data stored — such as text, numbers, or dates — under specific names. These fields can be standard (created by default) or custom (user-created).
Standard Fields
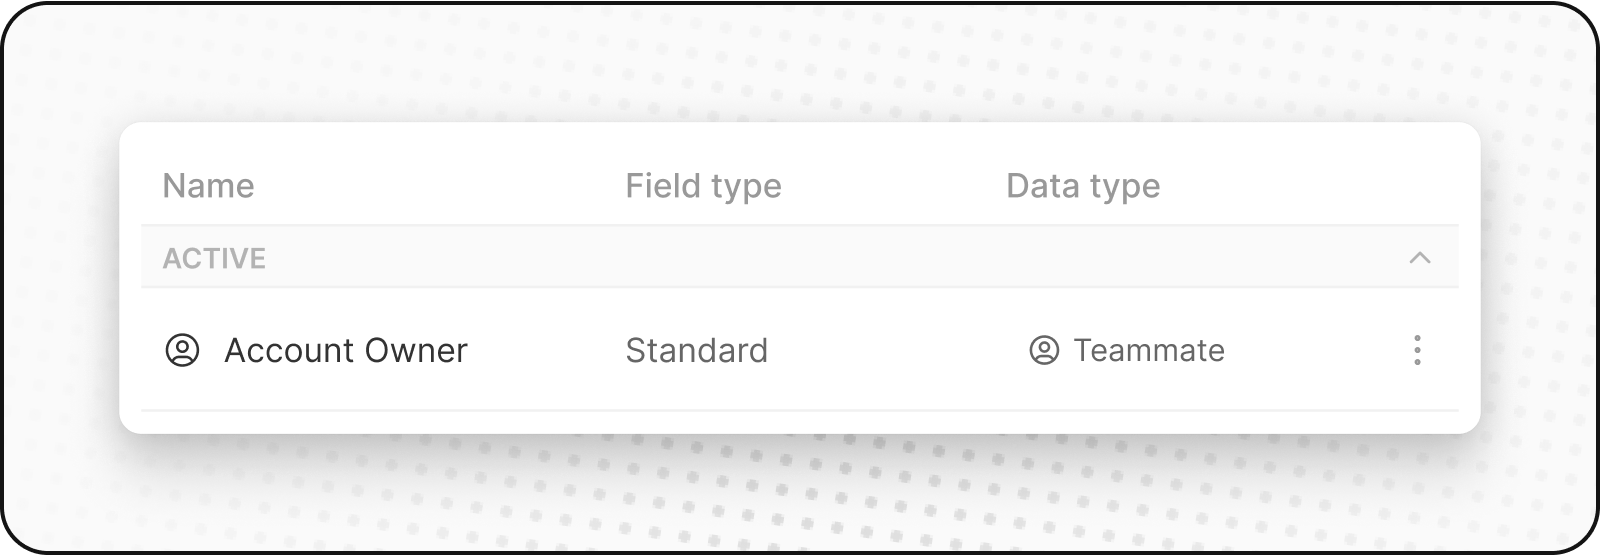
The platform includes Standard Fields by default as predefined fields designed to meet common, universal requirements in business modeling.
As an example, "First Name" and "Last Name" are standard fields within the people object. They're text fields, meant to capture and store the respective names of individuals.
As essential parts of the data model, you can't delete them, but only deactivate them.
Custom Fields
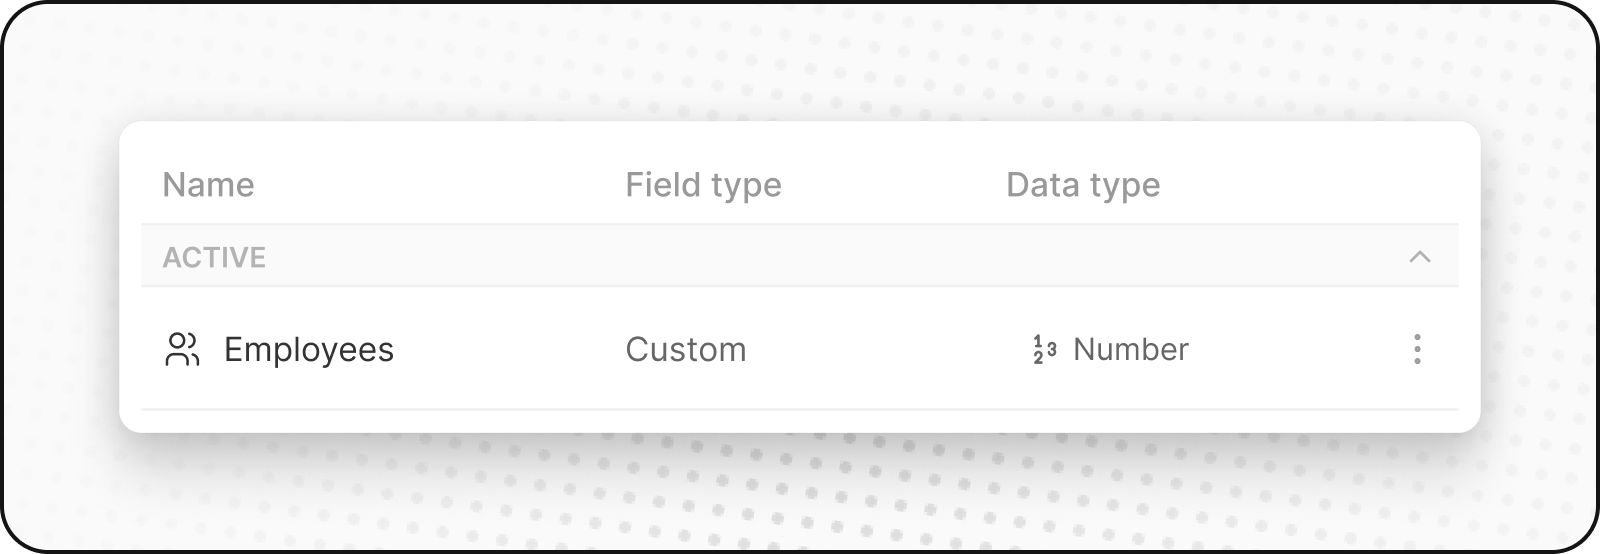
A Custom Field is a user-defined attribute you can add to a standard or custom object to store specific information that's not captured by the default fields. These fields can carry different types of data such as text, number, date, Select values, etc. Custom fields allow you to tailor your database to the unique needs of your business.
For instance, a custom field for SpaceX could be "Rocket Active Status", indicating if a rocket is operational.
Create a Custom Field
To add a custom field to any object, follow these steps:
- Go to
Settingsin the left sidebar. - Go to
Data Model, then select the object you wish to customize - Proceed by clicking on
Add Field. - Choose a field name and type that suits your requirements. Consider adding a field description for better understanding.
Your newly created field is now available within the application's fields. To display it on a specific view, click on the options menu, then select "Fields".
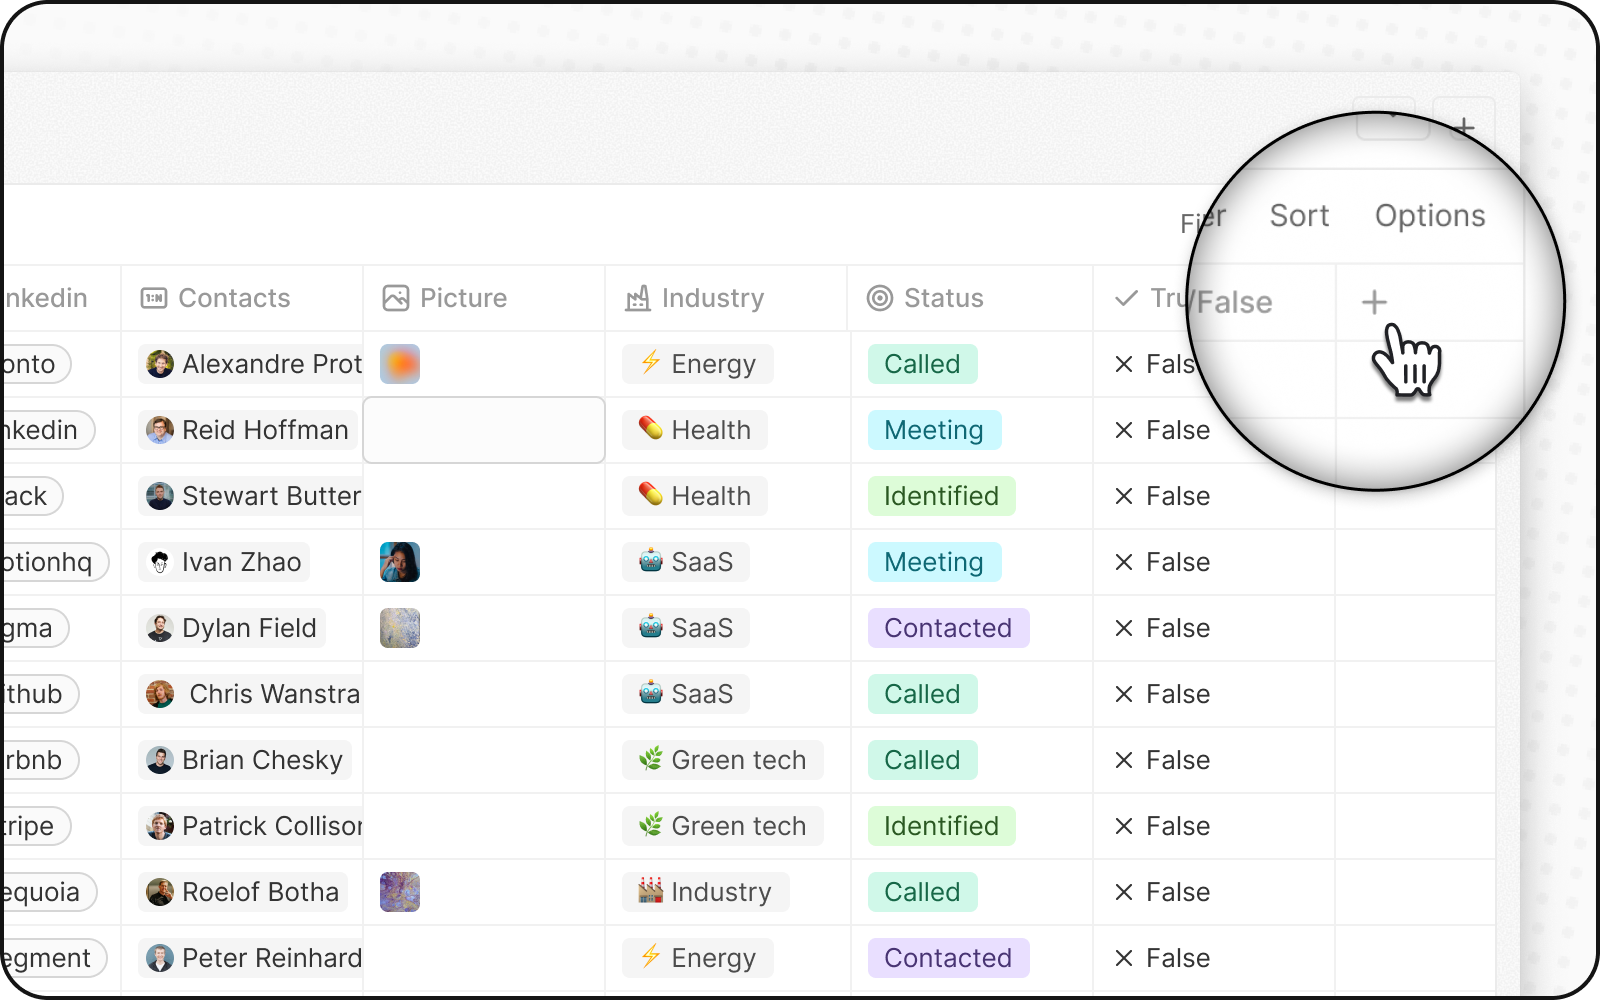
For creating Custom Fields in a more expeditious manner, make use of the + button located in the top right of the chosen object table, and then select the Customize fields option. This pathway affords you rapid access to the Data Model Settings page.
Deactivate a field
You can deactivate a field in the app to stop it from functioning without disrupting your data model. Deactivation is like a soft deletion, making the field unavailable for use in the app.
Here's how you can do it:
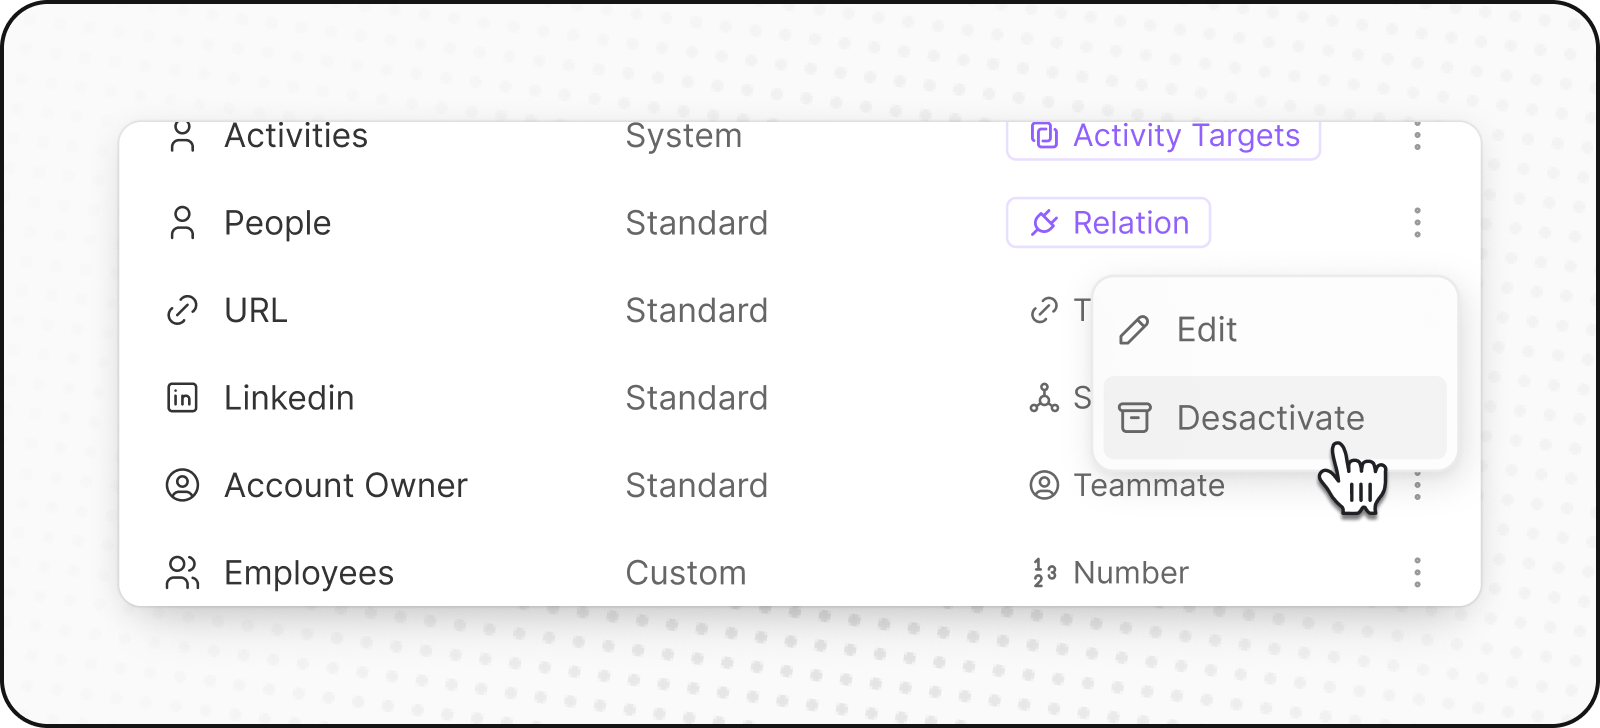
-
Locate the field you wish to deactivate. You'll find these under various object sections.
-
To the right of the line, three vertically aligned dots symbolize a menu button. Click on this to unveil a dropdown list of options.
-
In the dropdown menu, find and click on the "Deactivate" option.
And, voilà! You've deactivated a field. But what does this imply for your CRM operations?
-
In-App Functionality: A deactivated field will no longer be functional within the app. You won't be able to assign values to these fields anymore.
-
Relation Fields: If the deactivated field happens to be a relation field, the system doesn't delete the existing relation. It does prevent you from assigning or linking records to each other via this field in the app, moving forward.
-
API: You can still use deactivated Fields and their data through the API.
You can reactivate Standard and Custom Fields or have the option to permanently delete them.
Other field options
You can set a field as unique to prevent assigning the same value to different records, which helps maintain data integrity and simplifies relations import. In case of error at uniqueness creation, check all duplicates in your data (even soft deleted records).
Noticed something to change?
As an open-source company, we welcome contributions through Github. Help us keep it up-to-date, accurate, and easy to understand by getting involved and sharing your ideas!